Installing Redhat OS
Installation :
Requirements:
Hardware:
RAM 512MB / Graphical 1GB
CPU : 1
Partition Space: min 8GB to more
rhel iso file
- Configure virtual box with partition and point to rhel iso file.
- Screen will start loading. following prompt appear to test media (iso file). Press skip.
- Installation will start with following screen, Press next.
- Installation language select English and Press Next.
- Select Keyboard language US English and Press Next.
- For device type following screen appear select basic storage and press next.
- Select Fresh Installation and Press Next.
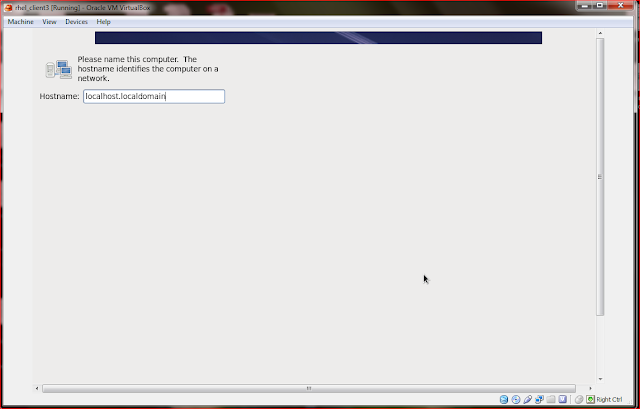
- Following screen appears here you can specify
- hostname (name to system) Default its localhost
- Domain name(company domain ex:google.com) Default localdomain
- localhost.localdomain press Next
- Select Time Zone from drop down and press Next.
- Default Linux creates root user. Super user root. Assign root password. Press next.
- Creating Partitions
- Use All Spaces: Fresh Installation on full hard disk, Installation default creates basic partition.
- Replace Existing Linux system: already Linux installed then it replace same partitions.
- Shrink and Free space : In free space its install
- Create Custom layout: We need to specify partitions.
- Total hard disk space select that and press Create
- Following screen will appear and press Create.
- First Important partitions /boot 101 MB fixed and Press OK
- Following screen will appear with boot partition creation. for next partition select free and press Create.
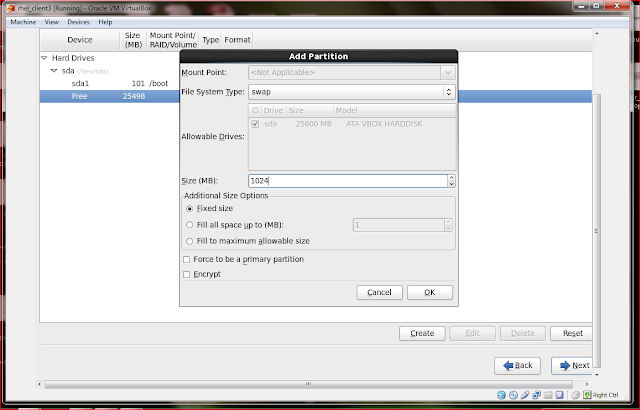
- Swap Partition : on files system type select swap.
- Swap is virtual space its should be double of ram size.
- ex: ram 512 MB then swap 1GB
- Press Ok
- For next partition select free and press Create , following screen appear then select / main partition which creates under that all folders.
- Size is maximum allowable space
- Press OK
- All Three Important basic partitions created. Press Next.
- Following screen appears for Writing disk for partitions. Press Write changes to disk.
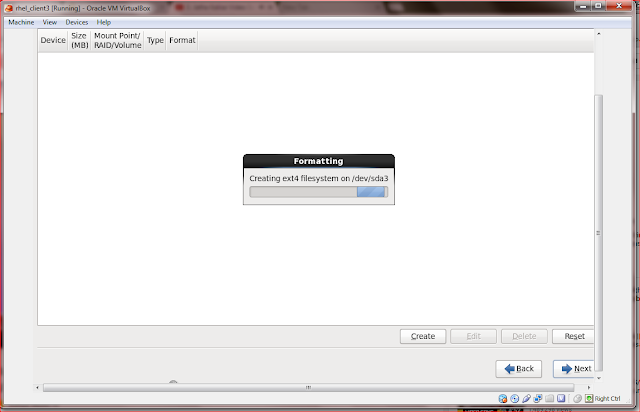
- Following screen appears as its started creating partition. Don't disturb now till it completes its process.
- Following screen will appear, don't make any changes . Press Next.
- We can select customize now and select the packages.
- we can select customize later , In this after installation we can configure packages to install.
- Select customise later. Press Next.
- It Starts installing default packages its will run for few minutes.
- Then Screen will appear for reboot. Press Reboot
Installation Process completed.
After Reboot make sure remove iso file point in virtual box else it will show installation screen.
After Reboot make sure remove iso file point in virtual box else it will show installation screen.


No comments:
Post a Comment